The prerequisite for launching a market is to launch a token.
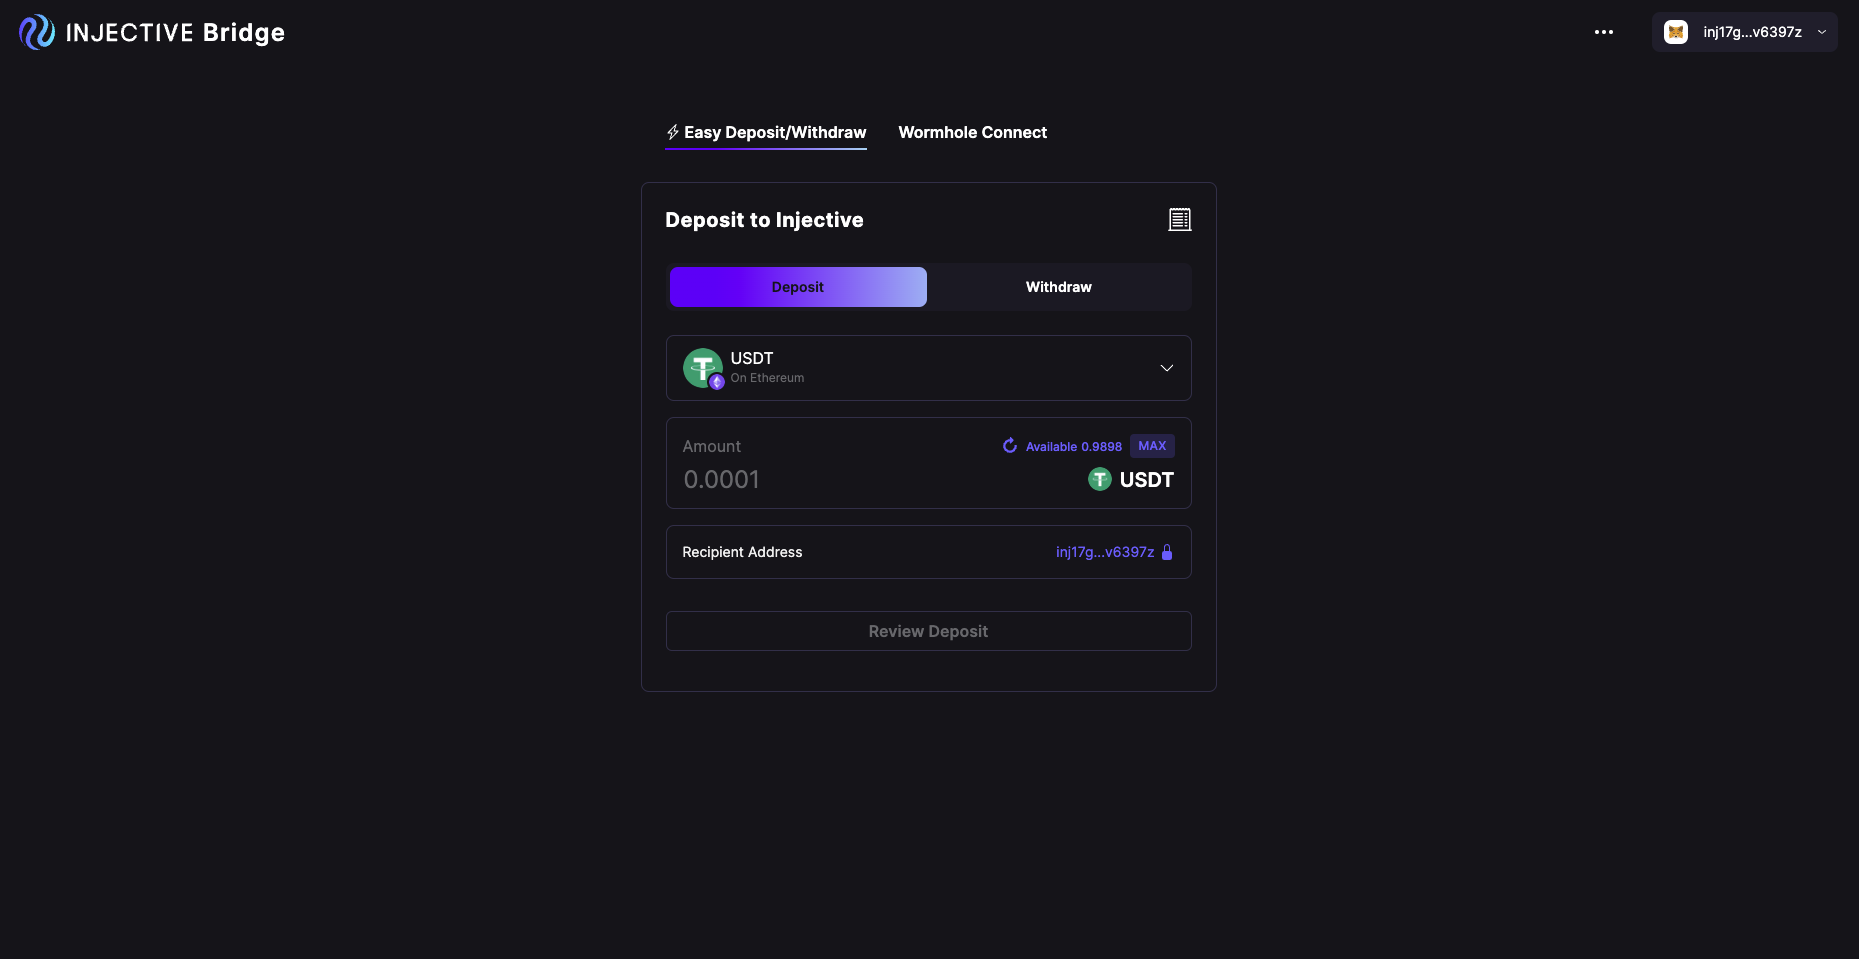
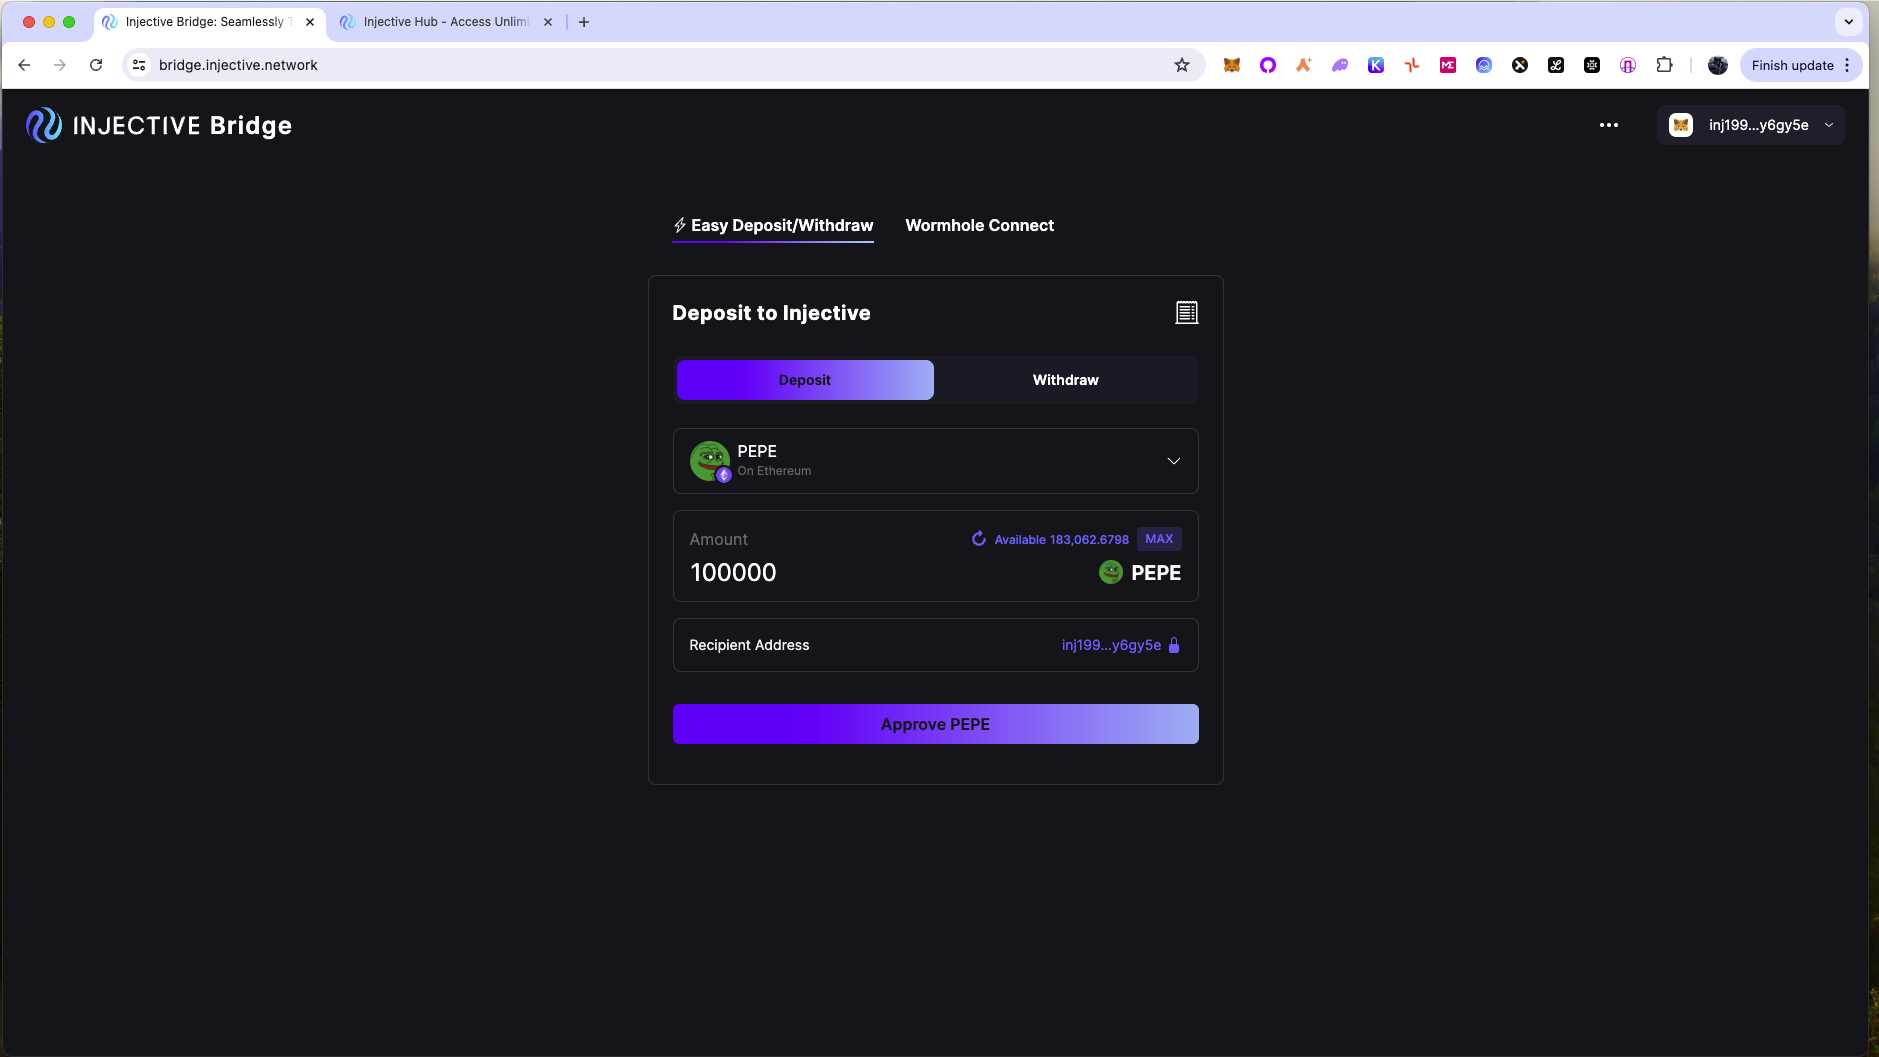
- Navigate to the Injective Bridge to begin the process of bridging your chosen ERC-20 token from Ethereum to Injective using the Peggy bridge.
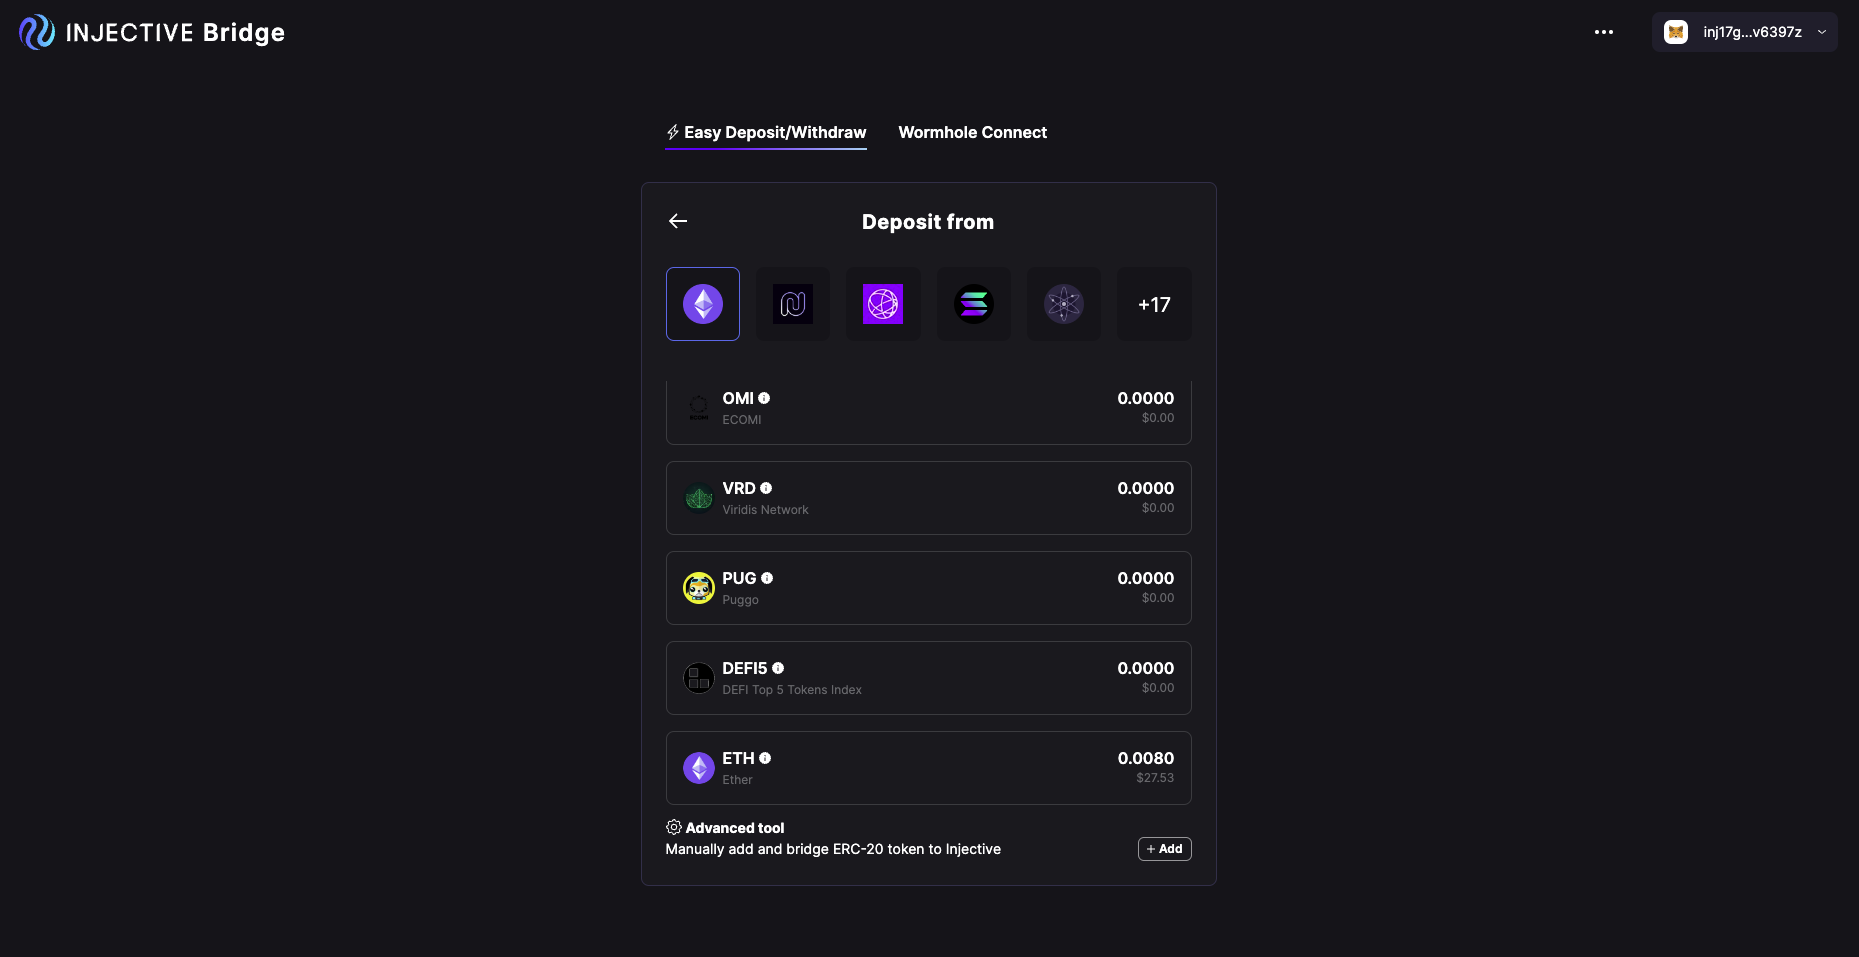
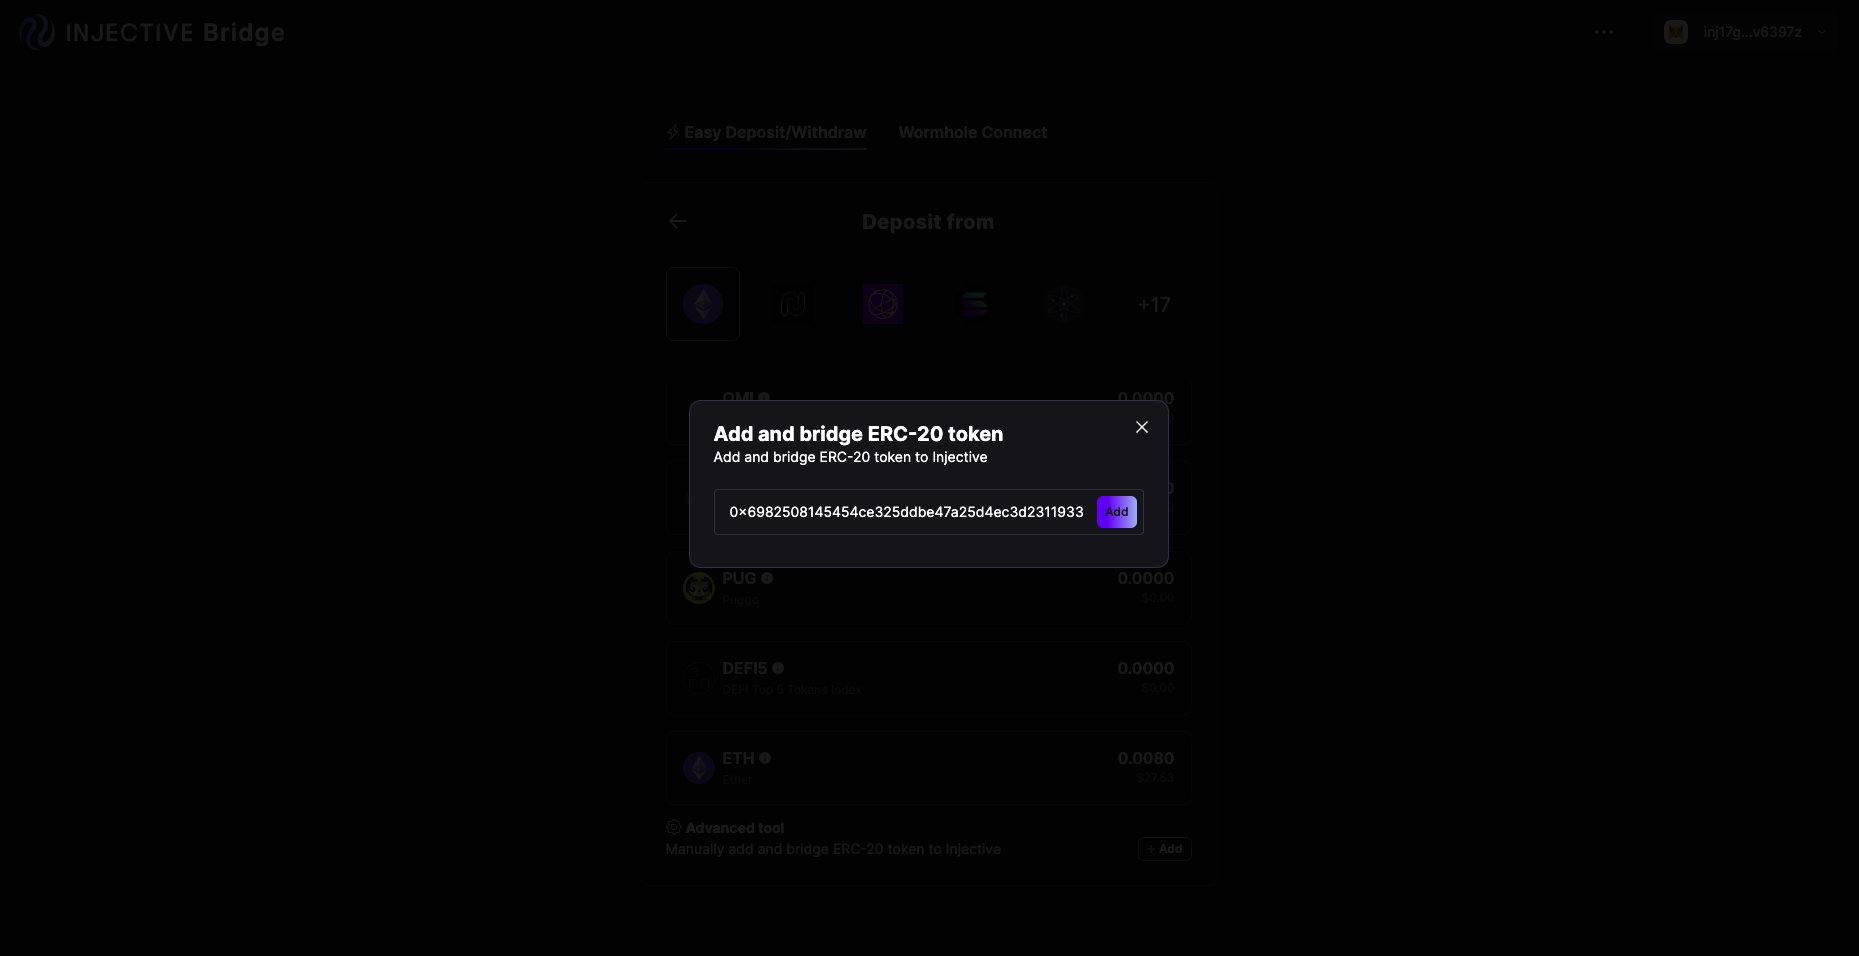
- Click the dropdown, scroll to the bottom, and click “add” next to the advanced tool to add a custom ERC-20 token using the token address, which you may want to verify on a trusted source like CoinGecko.
- Copy and paste the correct contract address, and click “add.”
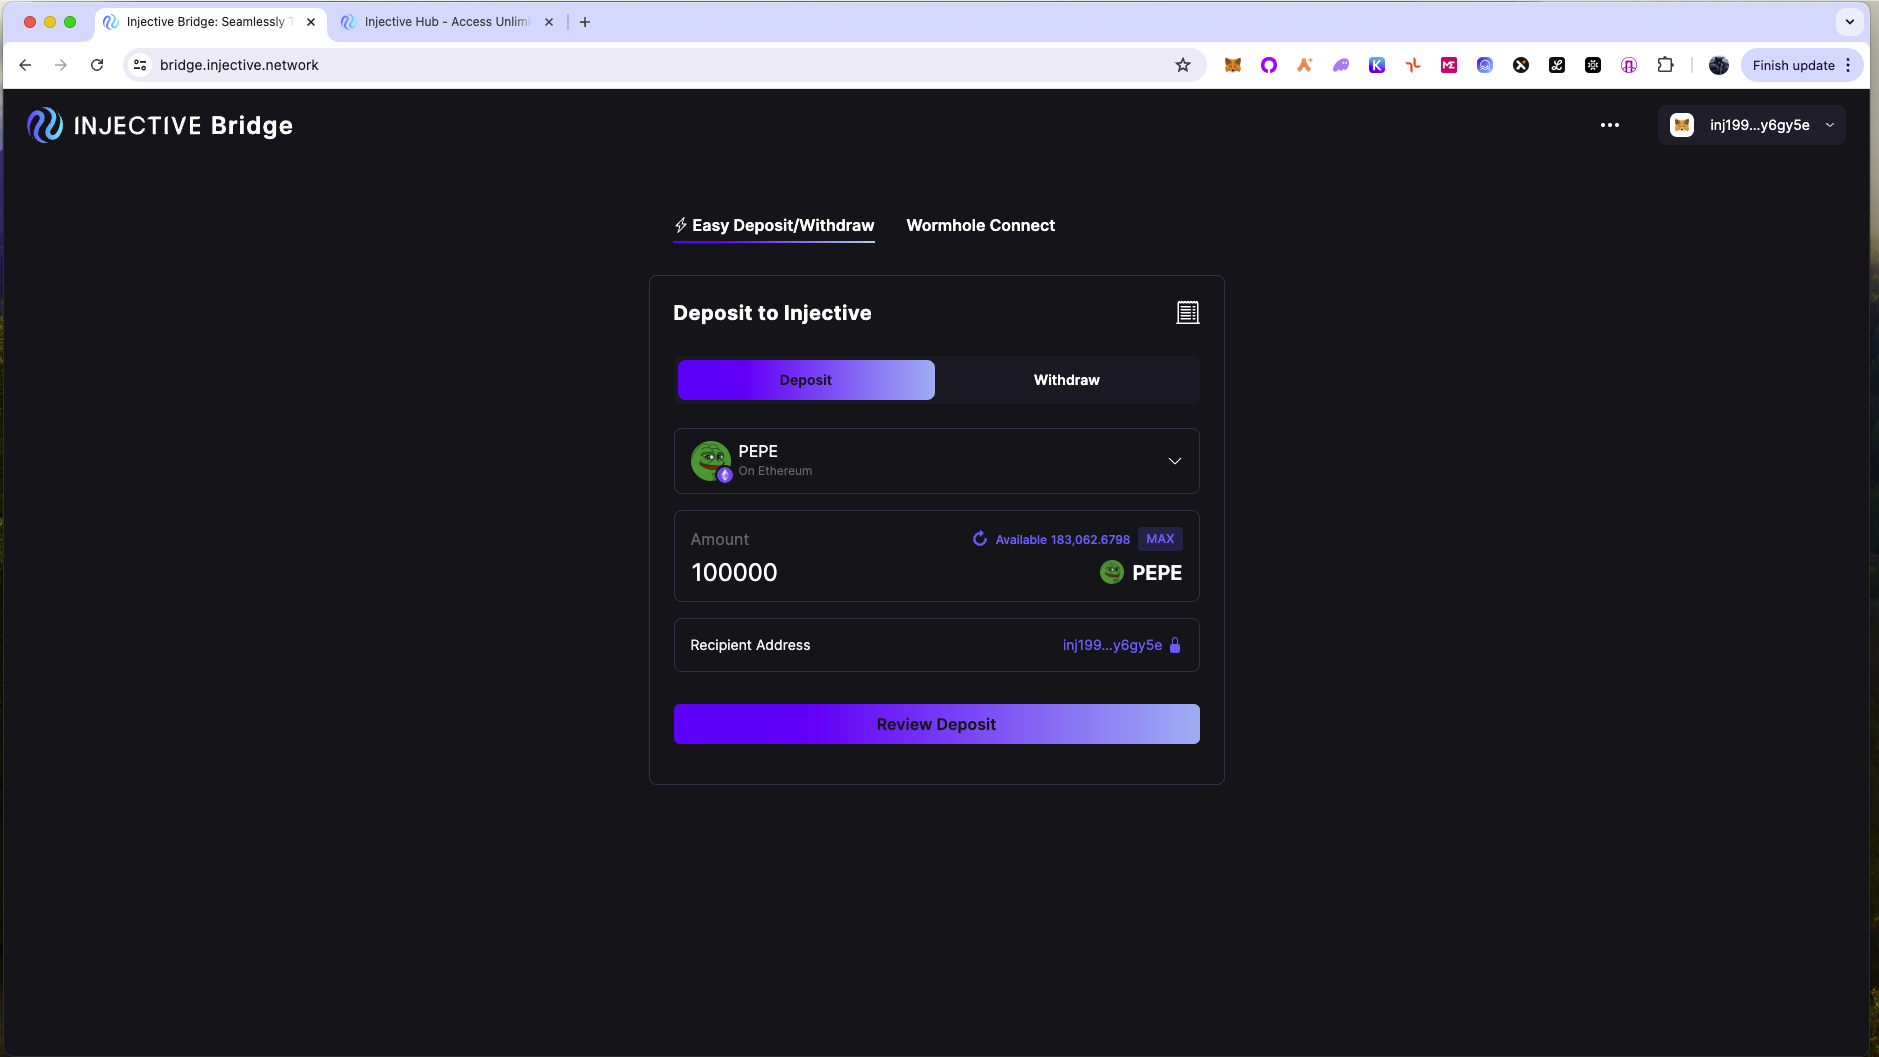
- Now enter the desired amount of the ERC-20 token you wish to bridge, click “approve,” confirm the transaction, then click “review,” confirm the transaction, and wait.
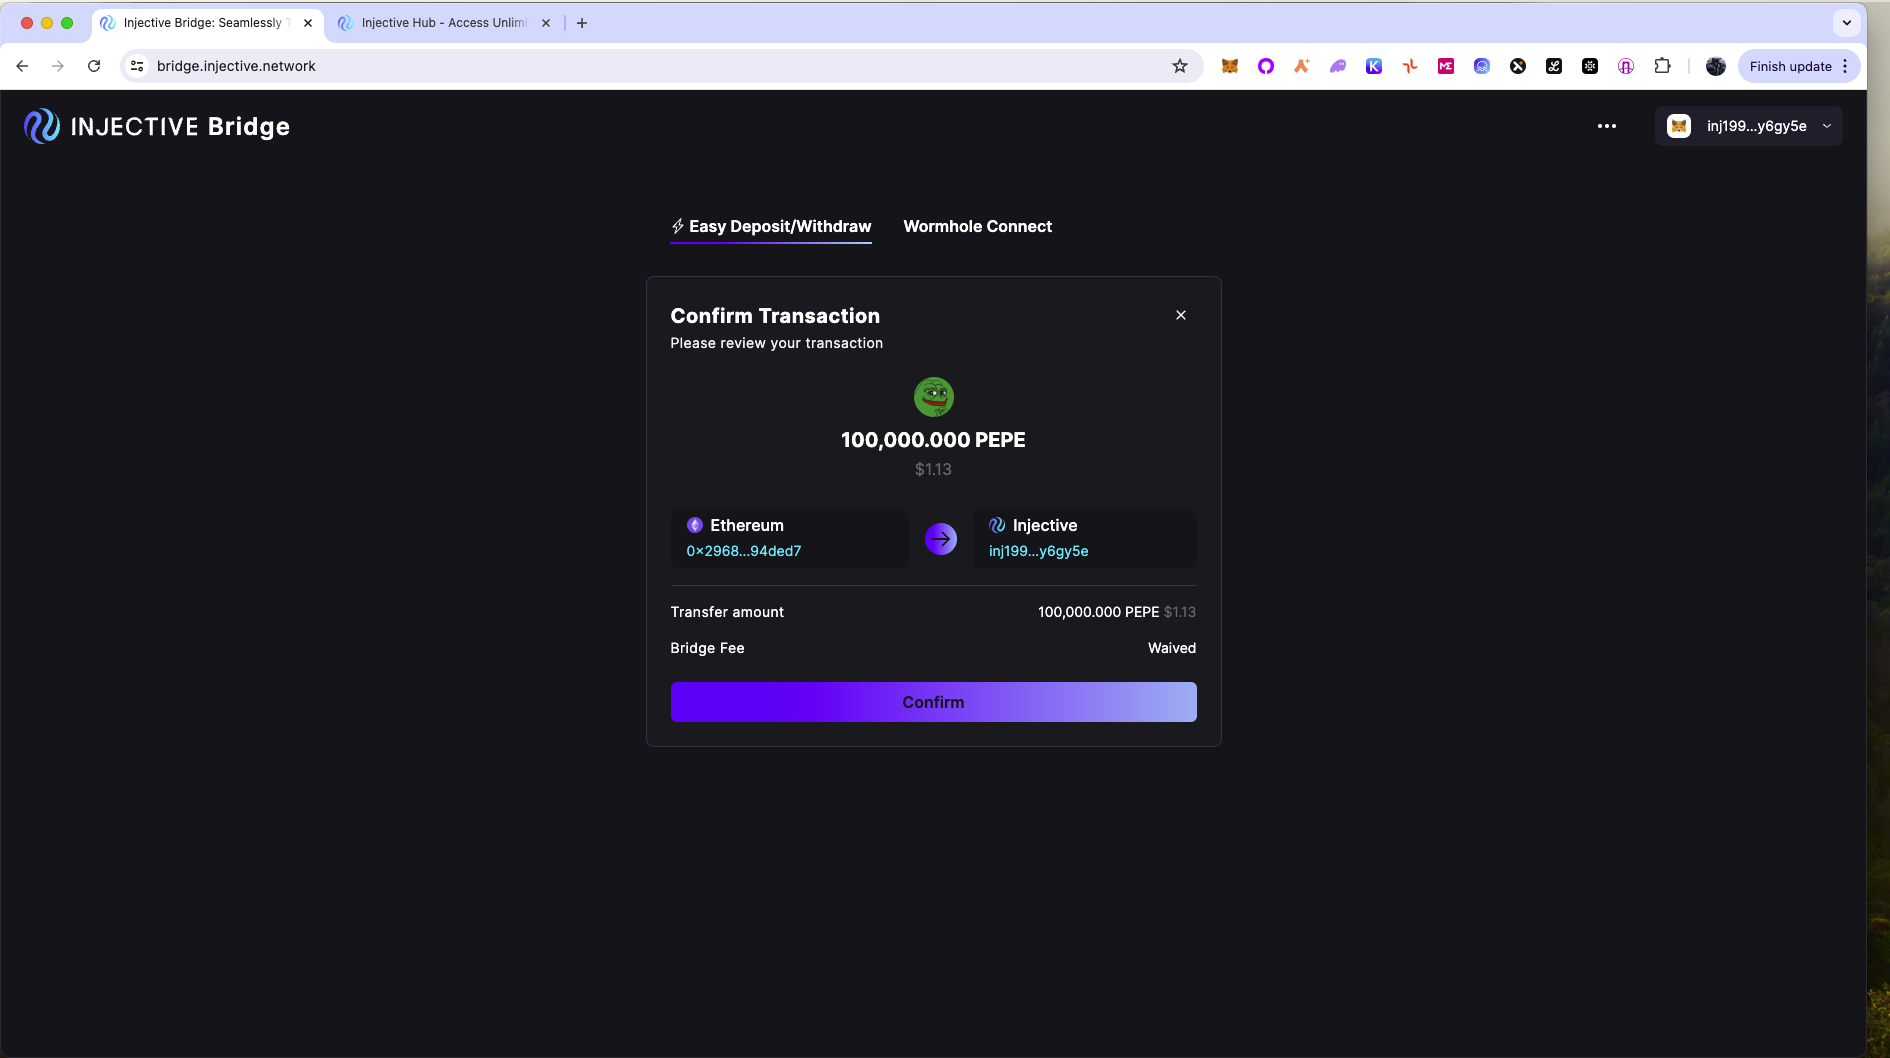
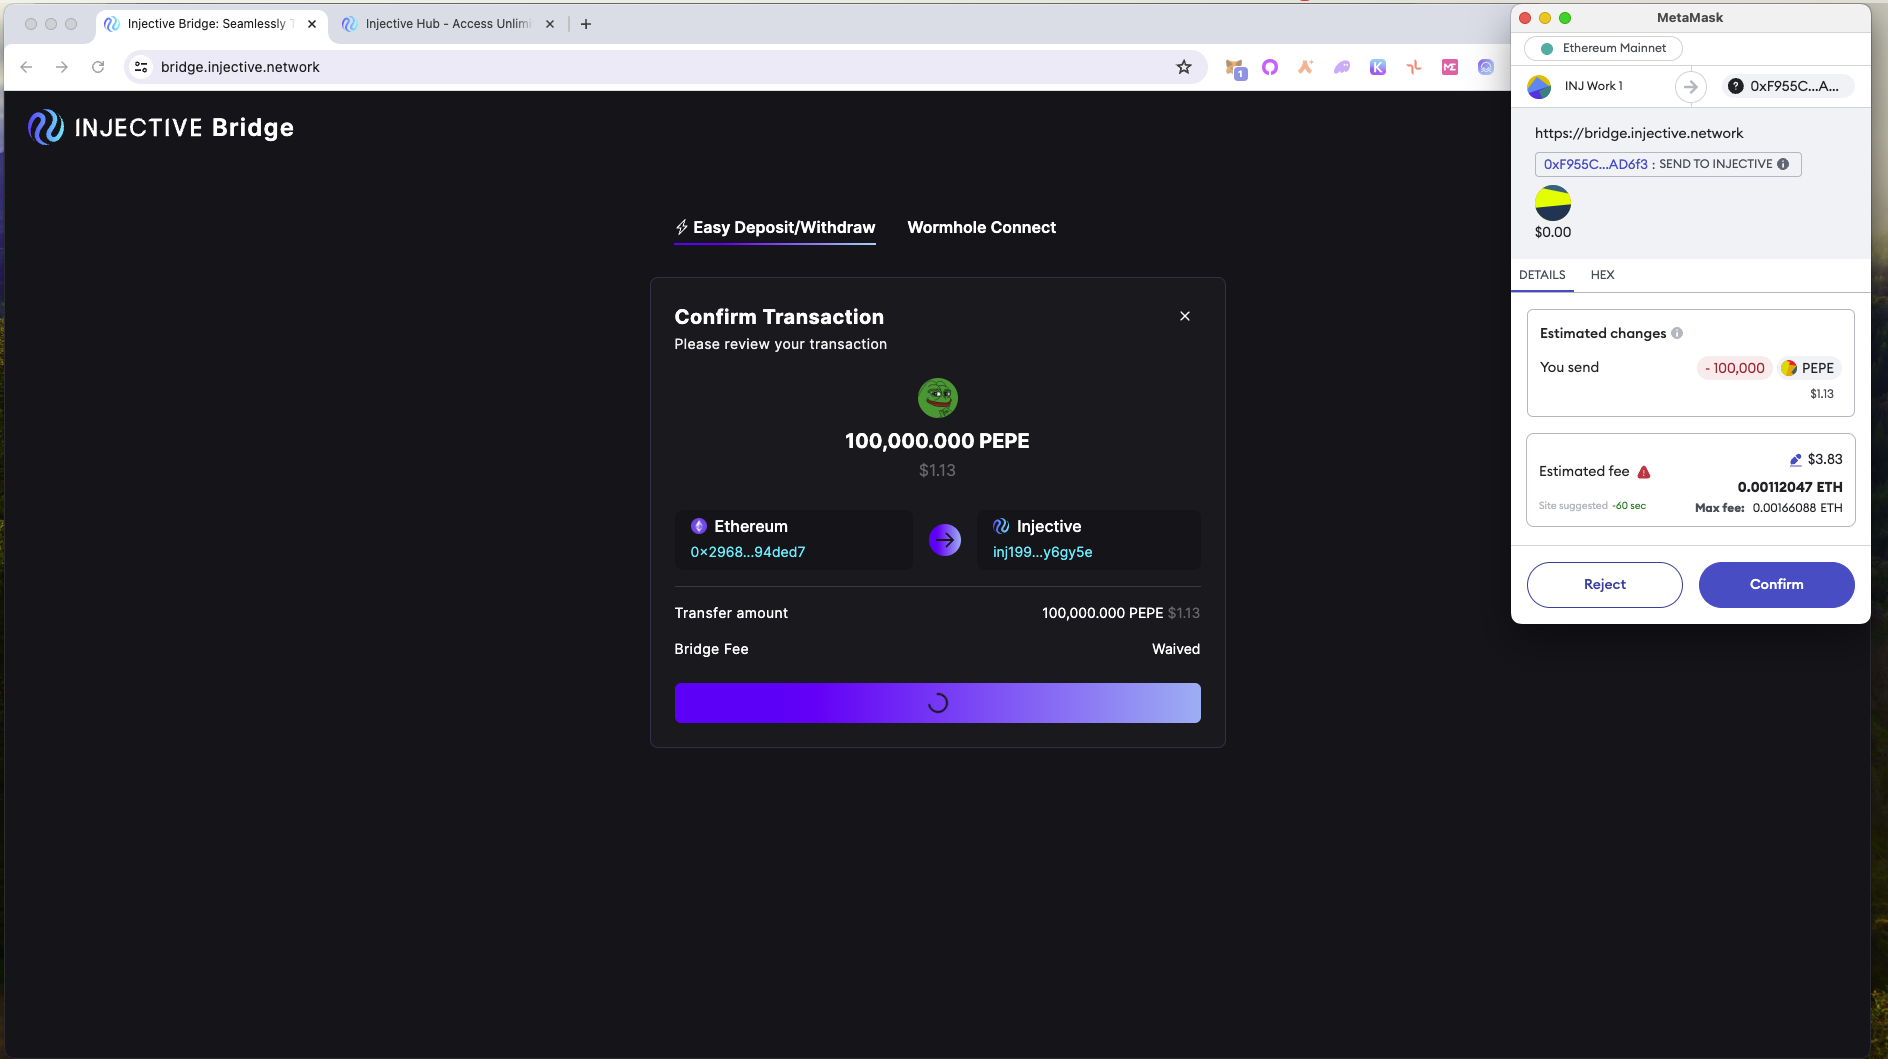
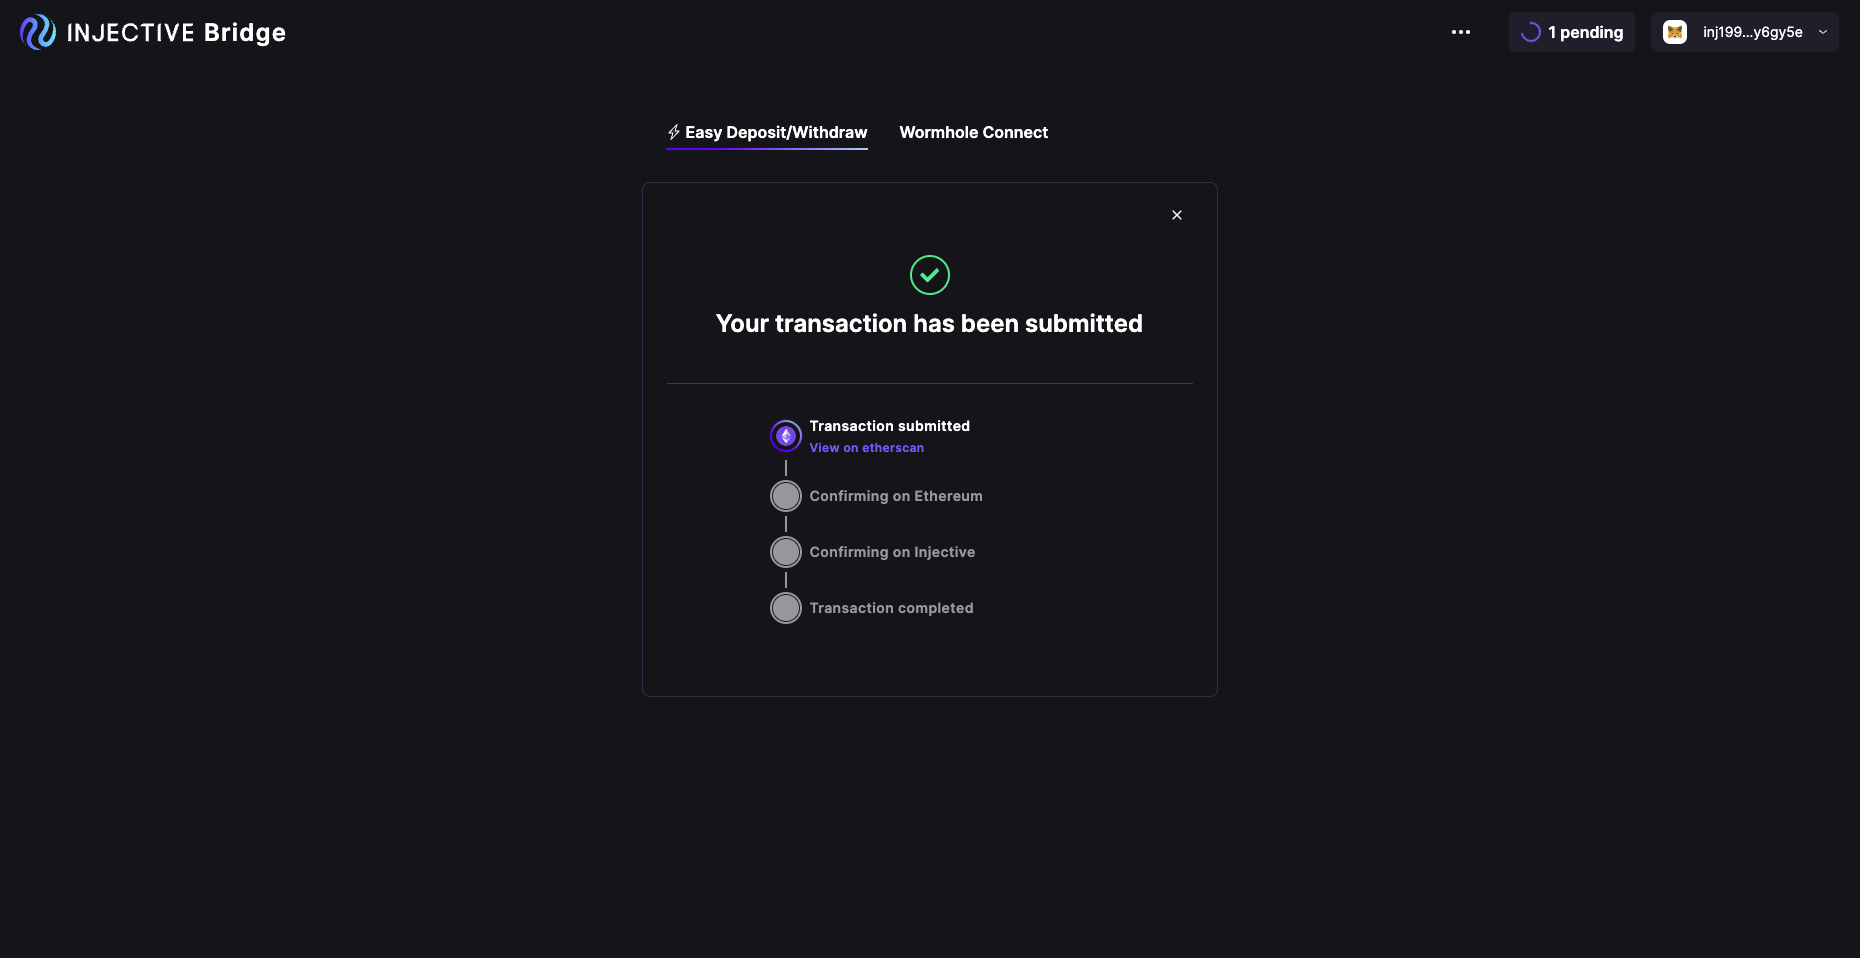
- Once the approve spend and deposit transactions are confirmed on the Ethereum blockchain, you will see the progress of the bridging transaction. Once the transaction is confirmed on Injective, your bridged ERC-20 token will be available in your Injective wallet. (Note, if you used MetaMask with the source chain, by default your bridged tokens will be sent to the inj address linked to your MetaMask. This can be changed by clicking the lock icon next to the recipient address at the beginning of step 4.)
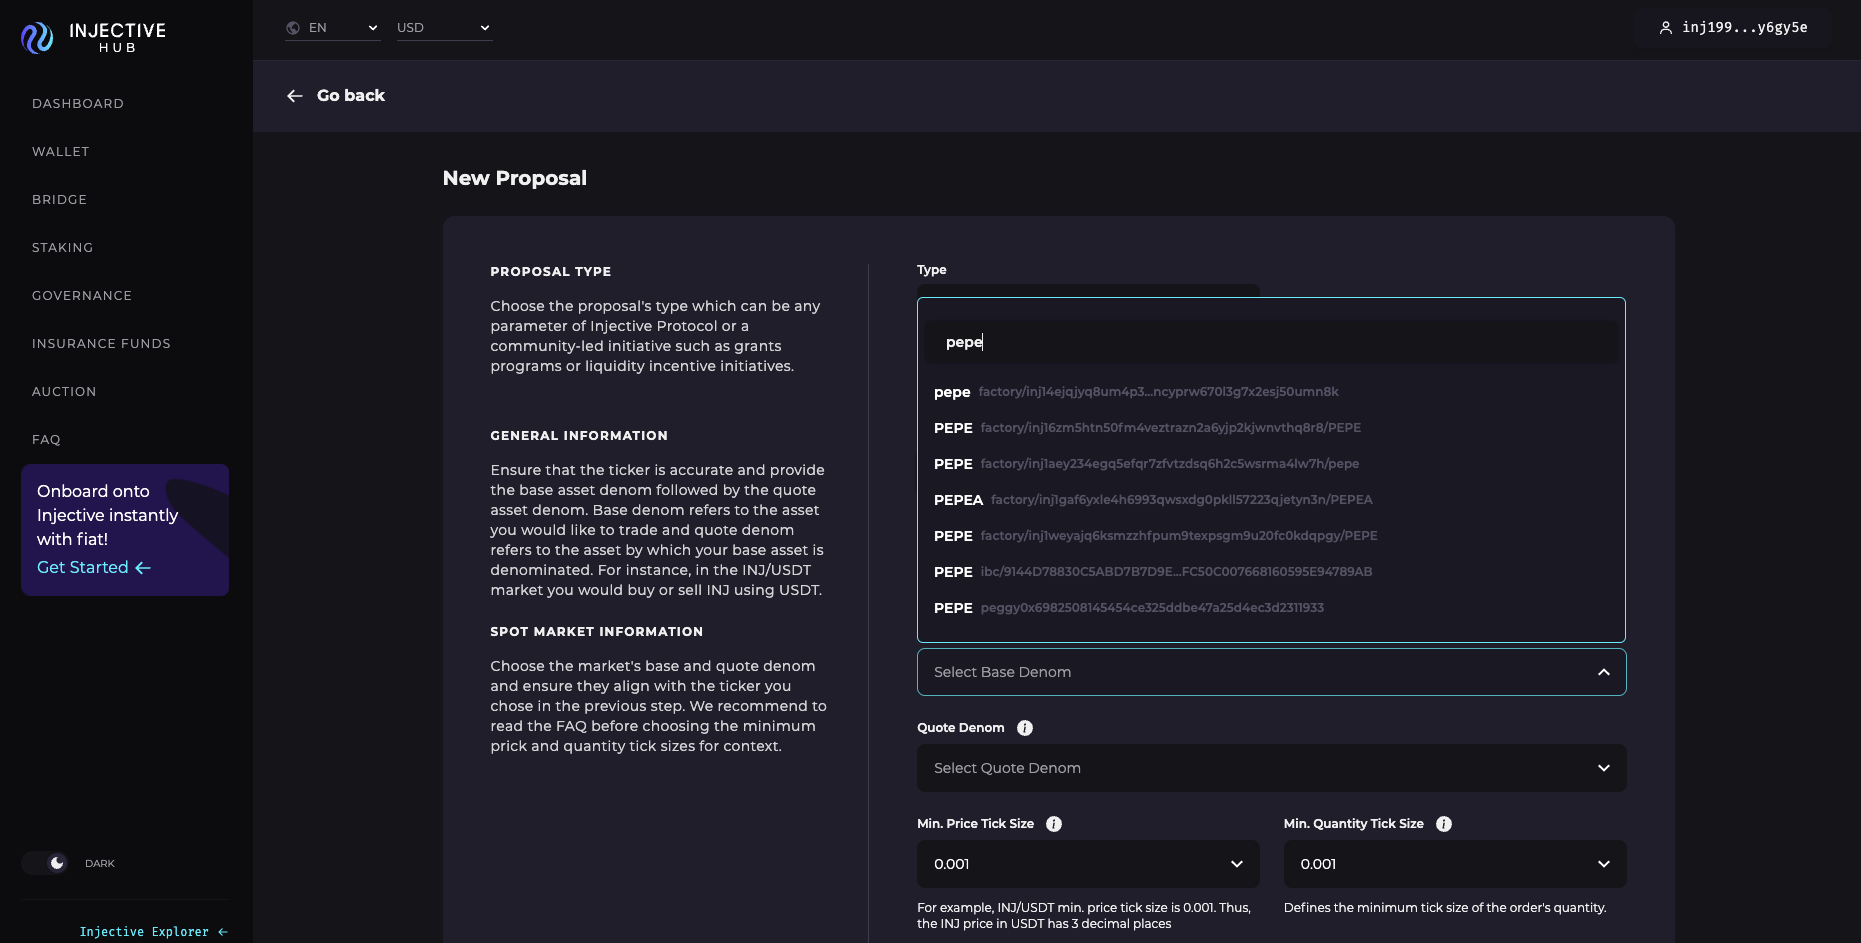
- After the bridging transaction is complete, you’re able to list the token permissionlessly on Injective by navigating to the Injective Hub.
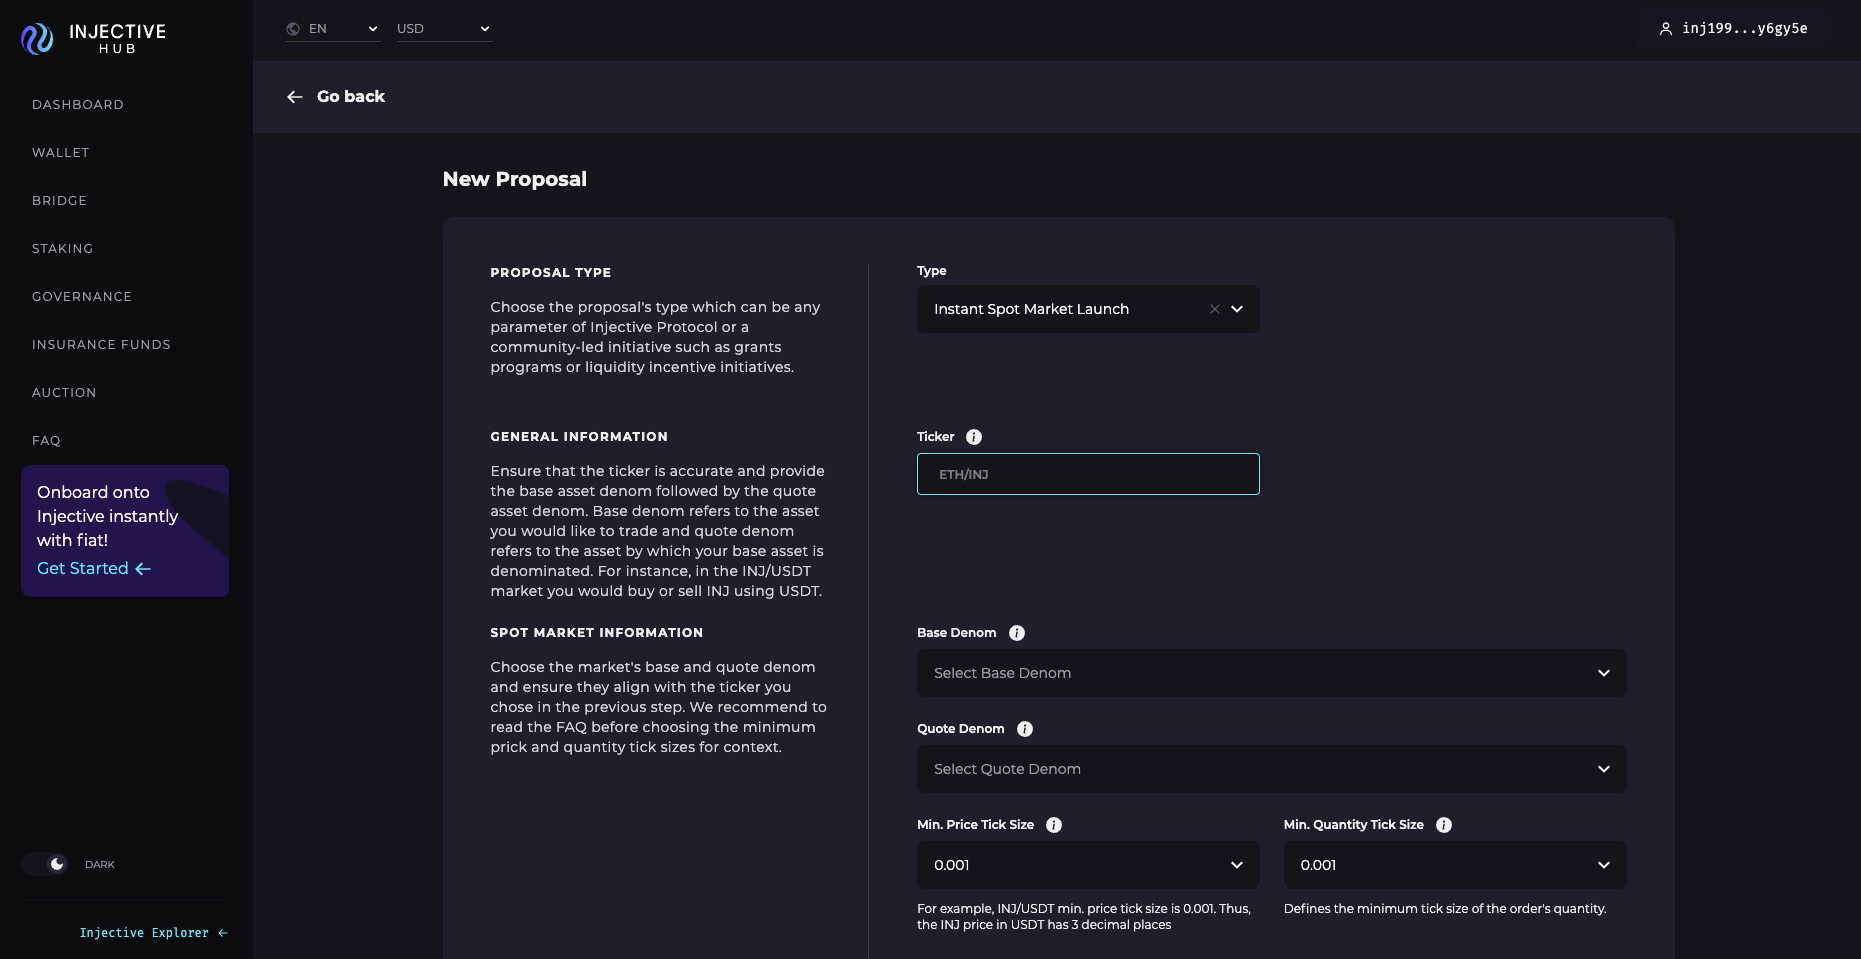
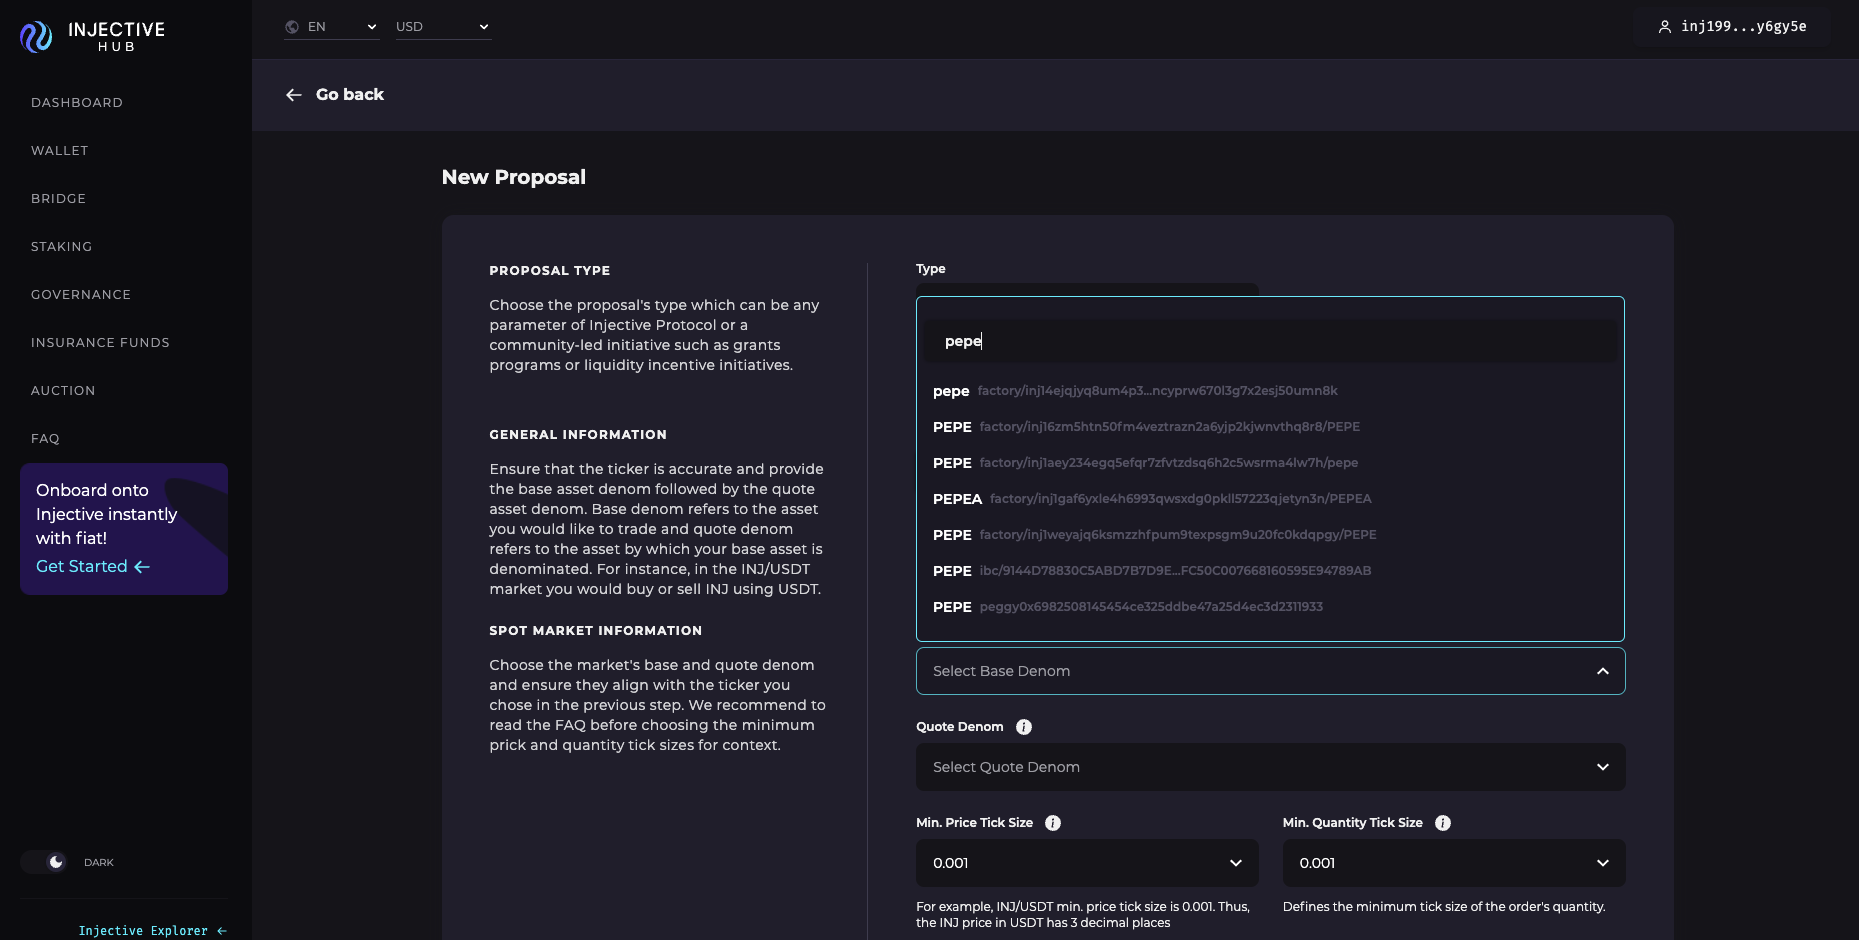
- Choose “instant spot market launch” from the first dropdown, and specify a ticker. In this example, let’s use PEPE/INJ. Now pick the base token from the dropdown. However, beware, several tokens might exist under the same ticker. Always match the correct token address. In this case, as the token was bridged using the Peggy bridge, the address will be peggy followed by the ERC-20 contract address.
- Now select the correct quote denom, in this case, inj. (Note, if you wish to pair the token with USDT, make sure to select the “correct” USDT address, which is peggy followed by the ERC-20 contract address for USDT.) Finally, specify a minimum price tick size and minimum quantity tick size. Because PEPE/INJ would trade at a fraction of a penny, the minimum ticks are set accordingly.